Pages

Wednesday, 15 April 2015

Handmade Toys


This Easter,I had fun making toys with this little kid. Simple homemade toys especially made by kids themselves bring so much joy and boosts their creativity. It also makes them think why certain things behave in the way they behave and hence teaches them the principle behind these toys in a fun way.
Magic Fan
Walking drum
Woodpecker


I bet you can't get these toys anywhere in the market. Have fun!

Friday, 3 April 2015

Easter Egg

Its Easter time and also time for some eggs...
I made this Easter egg with tissue paper.

Raw Materials:

  1. Tissue papers
  2. Glue
  3. Small balloon
  4. Water
  5. An Easter chick or chocolate to put inside.

Method:

  1. Tear the tissue paper by hand into small pieces. The pieces can be any size and shape. It simply does not matter. Make sure the pieces are not too big.
  2. Roll each piece of paper between your palms to make small paper rolls. They roll up very easily and quickly. You can wet your hands with a few drops of water to make it more faster.
  3. Stuff the balloon with the chick or chocolate as you wish.
  4. Blow the balloon to the size you want your egg to be and tie its mouth.
  5. With the help of glue, paste these tissue paper rolls on to the balloon. The paper does not stick easily. But with a little practise, you will be able to do it.
  6. Let it dry well. Once the assembly is completely dry, it becomes hard. Now pop the balloon with a pin and take it out through one of the many holes.
  7. Your Easter egg is ready to be gifted.
HAPPY EASTER!!!

Friday, 27 March 2015

Paper Mache

Paper Mache is one art that has always fascinated me. I had learned it from a TV show when I was a kid and was surprised to see how a few delicate sheets of paper could join and make a strong structure. It is only your imagination that limits what you can create. I remember the first bowl I made as a kid. I painted and covered it with varnish to make it waterproof. We used it till I finished college!!!

My son has made a few of them and here are two of them...

To make Blue Bell:

Blue Bell was created when Britain hosted the Olympic games in 2012. He was designed to be the Olympic Mascot.
To make Bluebell, the first step was to make a paper cone and fill it tightly with news paper without disturbing the shape of the cone. Then close the mouth of the cone by gluing a sheet of paper.
Make a few thick strips of paper. You can do it by rolling newspaper and then sticking at the end to prevent it from unrolling. Now paste these strips at the flat end of the cone.
Apply one or two layers of tissue paper to make its skin look good. After everything is dry, apply an even coat of the color of your choice. We chose Blue and Orange.
To make eyes and mouth, we took help of the Pizza carton. The eyes are made of cucumber and mouth is tomato;-)
Cut thin strips of paper and color them with the colors of Olympic rings. Paste them on Blue Bell's head.
This completes the Olympic mascot.
The hidden secret of Blue Bell is that if you turn Blue Bell upside down, he becomes the Olympic torch!

The second one is named MUSHI....Not the Moshi Monsters though. We had not heard about them till then.

To Make Mushi:
To start with, we made two paper balls and pasted them one above the other. Then cut two identical cardboard pieces to resemble wings. We also cut two cardboard pieces to form legs for Mushi. The cardboard pieces were held in place with the help of sticky tape. After that the whole structure was covered with two layers of tissue paper.
Now came the colorful bit....Shreyas chose yellow for the body and orange for the limbs. You need to be very careful while painting because the tissue paper tends to rip off. Just dab the color with cotton ball. Once everything is dry, use paintbrush to make the facial features.
The last and final bit was the hair for Mushi. Cut a long strip of paper and then fold it in half length wise. Now open the fold and make cuts on one half of this strip width wise  Now roll this around Mushi's head and glue it in place. Viola! A new creature has just been created.


Monday, 2 March 2015

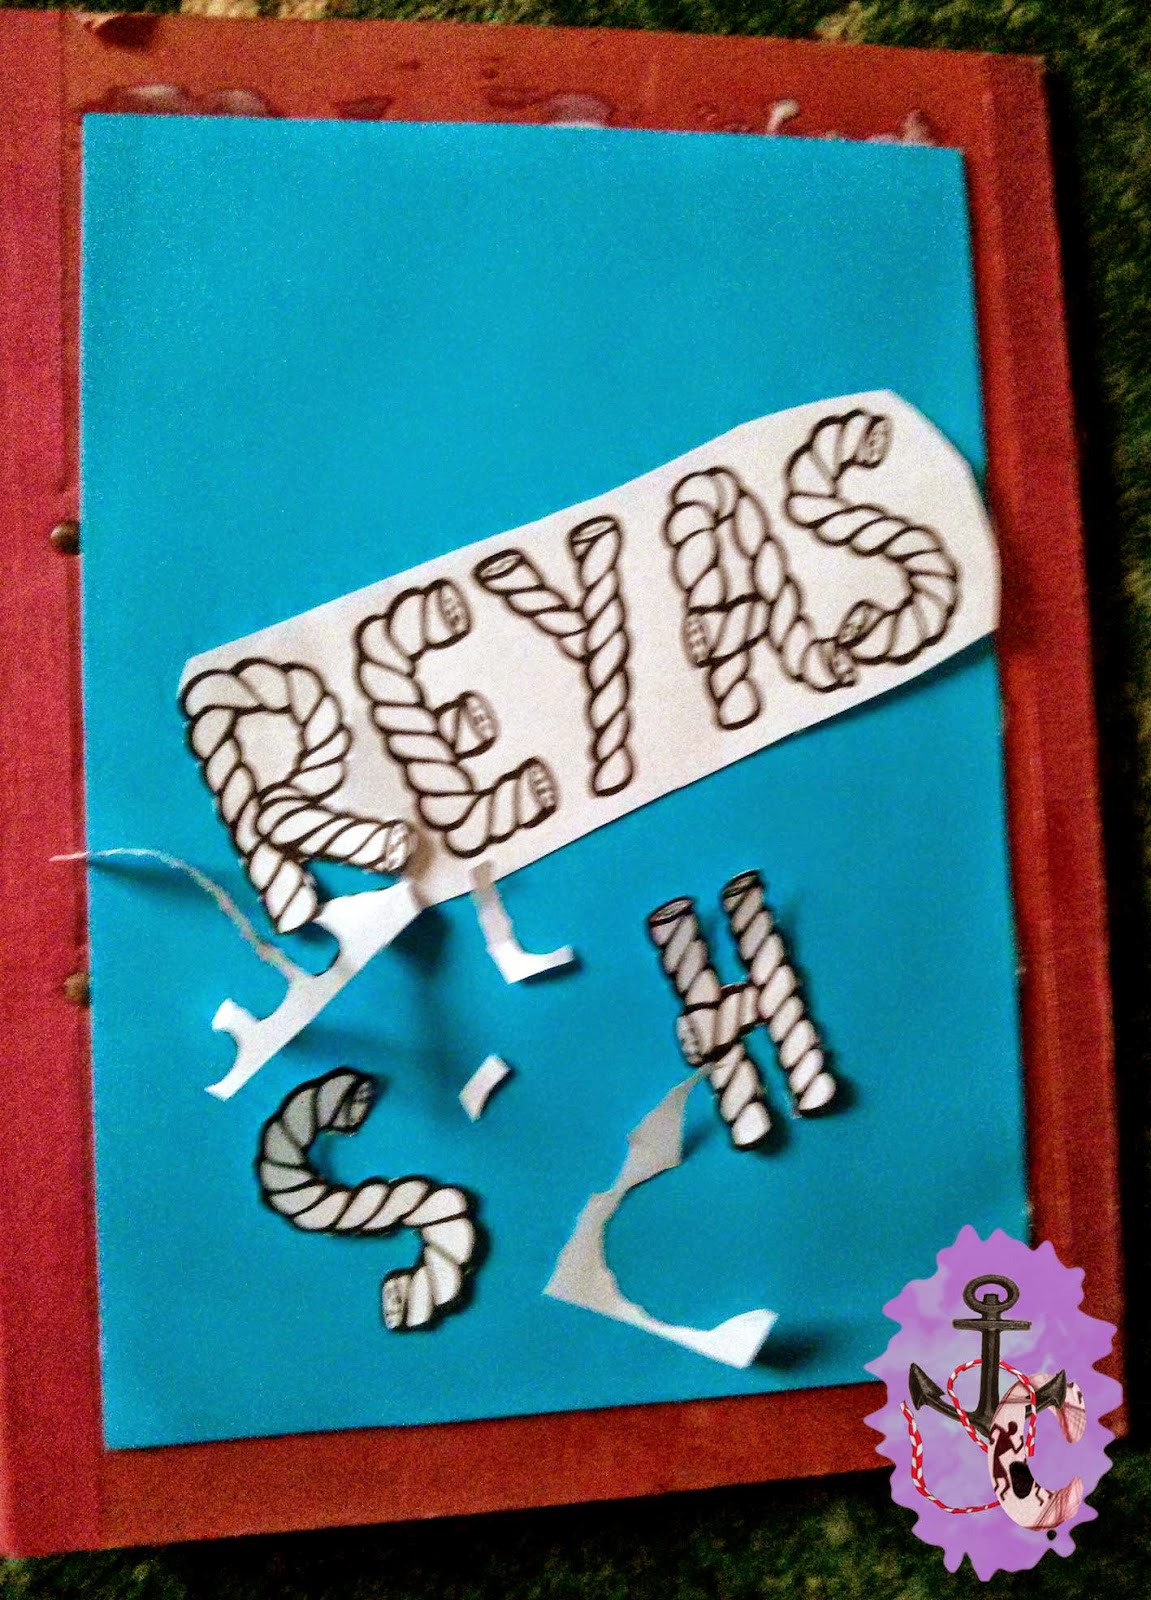
Decorated Folder

How about decorating a kids folder according to the contents of the folder?
This will make the kids open the folder again and again and may be encourage them to go through the contents as well.

Whatever it is....all I can say is it looks beautiful.

I used an old file, some foam, a printout of the name and some embellishments.

Cut the foam to the size of the folder and paste it on the front of the folder.

Then cut the letters from the print and paste it on to the foam. Paste a decorative ribbon on the edges of the foam and decorate the remaining empty spaces with embellishments.


Sunday, 22 February 2015

Broken CD - Beautiful Vase

I have tons of CDs which no longer work or are useless. But I don't like to throw them. That shiny surface always holds me back when I want to put them in the bin. So here's what I did with them when my olive oil got over and I had a beautiful green bottle at my disposal.

Step 1: With pliers remove the rings that are surround the rim of the bottle and any other unwanted parts.

Step 2: Thoroughly clean the bottle and the CDs (of course without damaging the shiny surface) to get rid of any dirt or oil. They dry them well.

Step 3: wrap the CDs in a cloth and use a hammer to break them. I used two CDs. The cloth will prevent the pieces from flying and collect in the cloth.

Step 4: Smear one side of the bottle with glue.(I had a square shaped bottle. You can do part by part on a round bottle so the glue does not dry out. Use a strong glue for a lasting product.)

Step 5: Now choose the pieces of broken CD and place them on the glue with shiny side up in a mosaic form. You can play with shapes and sizes so they look different and individual.

Step 6: Keep them to dry and make sure the pieces stay where you have glued them.(keep the bottle on it's side to prevent the mosaic from slide off,out of pattern.

Step 7: Wipe your bottle with a soft cloth to remove any glue sitting on top of the CD pieces and bring back the shine of your bottle.

Step 8: With a ribbon or a thread cover the rim so the groves in the bottle are covered.

Step 9: Place a nice bouquet in the bottle.

Step 10: Admire your creation, your very own CD bottle.

These bottles are easy to make, hardly cost any money and will keep your house nice and beautiful.Why not try some other things that you should keep in like a tiny light or a candle? or maybe change the shape of your container!

Wednesday, 18 February 2015

Kid's Collage 2

Its those times when kids have holidays and no one to play with and to make things more worse, you are left alone with them for extended periods of time. What do you do to keep them engaged so that you can complete your household work before playing with them? Its just that little extra time you need.
When my kid was young, I used this trick to keep him engaged. It not only helped pass time but also helped him improve his creativity. All I did was very simple. I took some colorful papers and cut different shapes out of them like triangles, circles, small strips, thick and thin strips, etc. Gave him one A4 plain sheet of paper with a glue stick and asked him to create designs using those paper clips. He could create anything real or imaginary limited only to his imagination. You never know what they may create...We may stumble upon some master artist...

This is what my son came up with during one such session.


I used his talent and coaxed him into creating one very beautiful collage with a combination of plain paper cuttings and magazine cuttings. This time he imagined the picture and asked for images. He also did use the scraps lying around. I had to make him do it a few times before I was satisfied. I sent this creation to a competition held by Ryan Global School, Mumbai and guess what, his creation won the first prize for kid's under 5!


The first image won the prize. But we did not get the art back. So we had create another one on similar lines to display in his school.

Monday, 2 February 2015

Warli Wall Deco

When we shifted to our new home, we had to buy new items like washing machine, fridge, etc to get started. I had saved up the large packaging materials of polystyrene (thermocol) for later use. The material that came up with the washing machine was quite big and looked good. 

In after Christmas sales, I bought disposable table cloth at throwaway prices. I pasted it on top of the polystyrene sheet to make it look even. But this created a problem, The table cloth was not suitable for painting! So I took some cereal box cardboard and drew the Warli pictures on them, cut them out and painted them with two coats of metallic color.

I used a combination of string art and Warli cutouts to create this wall decor. This work was much appreciated and also won first place in my son's school for recycling project.


Wednesday, 7 January 2015

Healthy Food Collage 1

When you have young kids at home, it is always good to be prepared for the crazy home works they are given at school. I call them crazy because sometimes kids don't know what to do and sometimes it is so difficult to get raw materials to complete the work. Yes of course in this world of internet, it is very easy to find an image and take a printout. But that may not be possible always. So the best is to collect colourful pictures and images from news papers, magazines, etc as and when they catch your eye. Do not stick to any particular topic, just cut off anything that is clear and looks useful like famous personalities, animals, flowers, fruits, tech gadgets, good looking words, etc. This way you will save a lot of time and also cash. You save on your printer ink and paper and also in some cases on the posters or stickers you buy from shops. And not to forget this is eco friendly!

My son was given a homework to make two posters one for healthy food and one for junk food. As I already had my paper cuttings, I just had to sort them out. My son made the junk food poster and I made the healthy one. 
I had a lot of healthy food cuttings. So i tried something new. I arranged them in the form of a face and made this collage. This is one of my all time favourites!


Healthy Food Smiling Face